


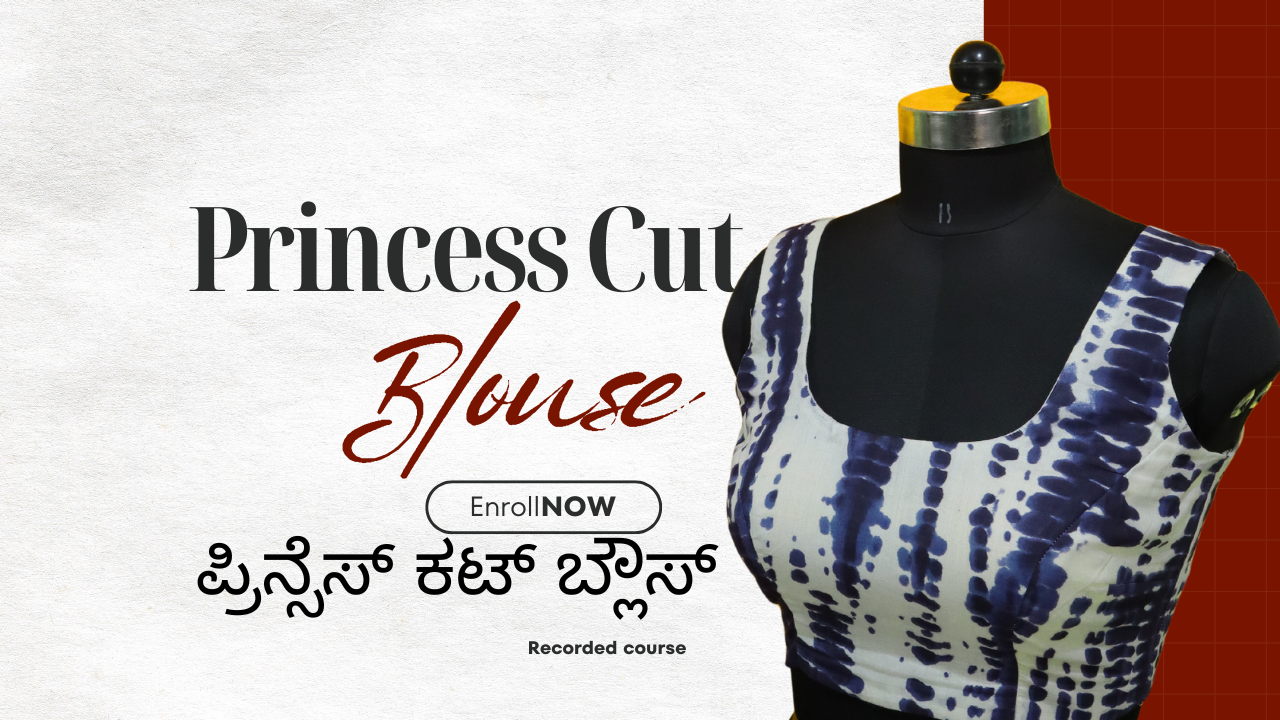
The princess cut blouse is one of the most flattering styles a woman can wear, and it is also one of the most requested designs in any tailoring shop. Instead of shaping the bust with darts, the princess cut uses long curved seams that run from the shoulder or armhole down to the waist. At By Bhavani in Bangalore, where we have taught pattern drafting and dress making for over fifteen years, the princess cut is one of the first designer blouses students fall in love with.
Why Choose a Princess Cut Blouse?
A princess cut gives you shaping without the pointed look that darts sometimes create. Because the fit is built into vertical seams, the blouse hugs the body gently and evenly, and those long seams are far easier to adjust at fittings than a dart.
Step-by-Step: Cutting the Princess Cut Blouse
- Take accurate measurements — shoulder, full bust, upper bust, waist, blouse length, armhole.
- Draft the basic bodice block.
- Mark the princess lines from the shoulder through the bust point to the waist.
- Transfer the bust shaping into the seam.
- Add seam allowance (~1.5 cm) and cut the panels.
Step-by-Step: Stitching It Together
Join the centre front to each side panel along the curved seam, matching the bust-point notch and sewing slowly so it doesn't pucker. Press every seam as you go, then join shoulders and sides, set the sleeves or finish the armholes, add closures, and give a final press.
Learn It Hands-On With Live Feedback
In our 2 Weeks Blouse Mastery Course you learn the princess cut alongside 13+ designer blouses with live guidance. Explore all our courses — online and offline, taught in Kannada from our Bangalore institute.